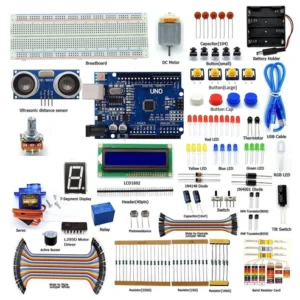
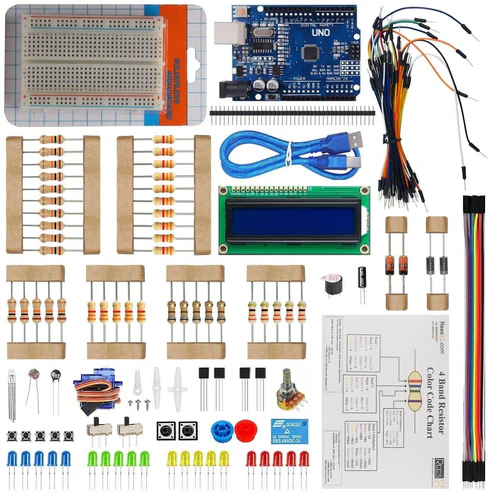
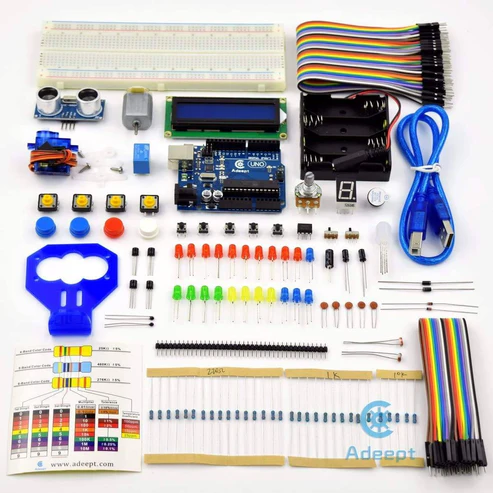
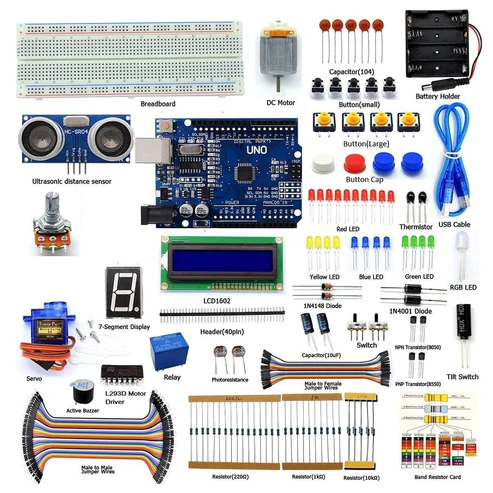
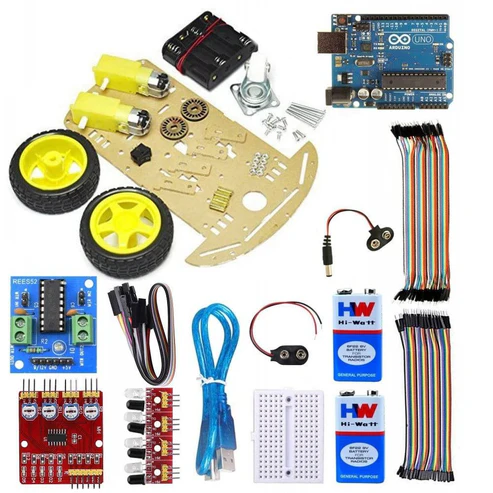
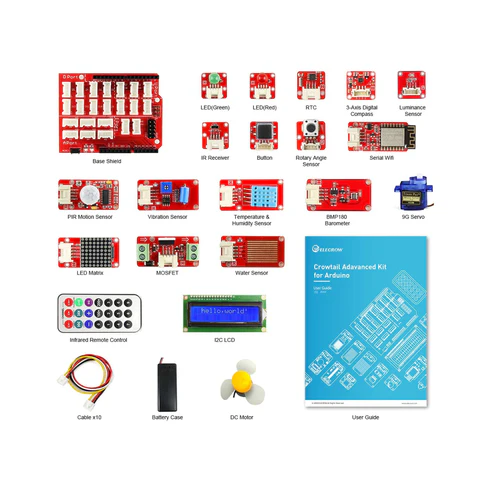
Hardware required:
Introduction
In this project we have displayed values on LCD using Tilt switch module.
HARDWARE REQUIRED
SOFTWARE REQUIRED
Arduino IDE 1.8.5 (programmable platform for Arduino)
Click To Download:https://www.arduino.cc/en/Main/Software
SPECIFICATIONS
Mercury Tilt Switch Module
The mercury tilt switch module uses a small mercury ball that completes the circuit when you tilt the module. It consists of a mercury switch, a 680Ω resistor and a LED that will light up when tilt is detected. The mercury ball will open/close the circuit when the module is rotated.
- Operating Voltage: 3.3V to 5.5V

Arduino Uno

CIRCUIT CONNECTION
- Connect GND of Arduino Uno with Breadboard for further GND connections.
- Connect Pin 5V of Arduino Uno with Breadboard for further 5V power supply connections.
- Attach 1602 LCD and Potentiometer on Breadboard.
- Connect Pin VSS of LCD with GND rail of Breadboard.
- Connect Pin VDD of LCD with 5V rail of Breadboard.
- Connect Pin V0 of LCD with Pin Signal of Potentiometer.
- Connect Pin RS (Register Select) of LCD with Digital Pin 12 of Arduino Uno.
- Connect Pin RW (Read/Write) of LCD with GND rail of Breadboard.
- Connect Pin Enable of LCD with Digital Pin 11 of Arduino Uno.
- Connect Data Pin 4 of LCD with Digital Pin 5 of Arduino Uno.
- Connect Data Pin 5 of LCD with Digital Pin 4 of Arduino Uno.
- Connect Data Pin 6 of LCD with Digital Pin 3 of Arduino Uno.
- Connect Data Pin 7 of LCD with Digital Pin 2 of Arduino Uno.
- Connect Pin A (LED positive) of LCD with 5V rail of Breadboard.
- Connect Pin K (LED Negative) of LCD with GND rail of Breadboard.
- Connect VCC of Potentiometer with 5V rail of Breadboard.
- Connect GND of Potentiometer with GND rail of Breadboard.
- Connect VCC of Tilt switch Module with Pin 3.3V of Arduino Uno.
- Connect GND of Tilt switch Module with GND of Arduino Uno.
- Connect Pin Signal of Tilt switch Module with Digital Pin 7 of Arduino Uno.

CODE
https://drive.google.com/open?id=1N6Uk1DUlIbYKXI-TccvmodCq9c8BFdkb
#include <LiquidCrystal.h>
const int rs = 12, en = 11, d4 = 5, d5 = 4, d6 = 3, d7 = 2;
LiquidCrystal lcd(rs, en, d4, d5, d6, d7);
const int tiltSensorPin = 7;//Global Variables
bool currentSwitchState = LOW; //bool is the standard, and preferred type for boolean
bool prevSwitchState = LOW;
int reply;
/* The setup() function is called when a sketch starts. It is used to initialize variables, pin modes, start using libraries, etc. This function will only run once, after each power up or reset of the Arduino board. */
void setup()
{
lcd.begin(16, 2);
//lcd.print(“hello, world!”);
Serial.begin(9600);
lcd.begin(16, 2); //16 characters and two lines
pinMode(tiltSensorPin, INPUT_PULLUP);//sets the pinmode for the tilt sensor
lcd.setCursor(0,0);
lcd.print(“Ask the”); //prints the line of text
lcd.setCursor(0,1); //moves the cursor to the next line
lcd.print(“Magic Dice”); //not sure if hyphen will work
}
/* The loop() function executes the program repeatedly until Specified. */
void loop()
{
currentSwitchState = debounce(prevSwitchState); //get the tilt sensor value HIGH or LOW
if (currentSwitchState != prevSwitchState) { //looking for a change in the tilt sensor
if (currentSwitchState == LOW) { //tilt sensor has made a connection
lcd.clear(); //clear the screen
reply = random(6); //random select a number from 0-7
lcd.setCursor(0, 0); //move cursor
Serial.println(“Dice says:”);
lcd.print(“Dice says:”); //print the line of text
lcd.setCursor(0, 1); //move the cursor
switch(reply){ //switch statement jumps to case with a reply value (0-7)
case 0:
lcd.print(“1”);
Serial.println(“ball says: 1”);
break;
case 1:
lcd.print(“2”);
Serial.println(“ball says: 2”);
break;
case 2:
lcd.print(“3”);
Serial.println(“ball says:3”);
break;
case 3:
lcd.print(“4”);
Serial.println(“ball says:4”);
break;
case 4:
lcd.print(“5”);
Serial.println(“ball says:5”);
break;
case 5:
lcd.print(“6”);
Serial.println(“ball says:6”);
break;
}
}
else { //Detected that the switch is HIGH or tilted down
lcd.clear(); //clear the screen
lcd.setCursor(0, 0); //move cursor
lcd.print(“Dice says:”); //print the line of text
Serial.println(“Dice says:”);
lcd.setCursor(0, 1); //move the cursor
}
}
//Save the current state into previous state
prevSwitchState = currentSwitchState;
}
bool debounce(boolean last){
//Local Variable
bool current = digitalRead(tiltSensorPin);
if(last != current){
delay(100); //100 milliseconds
current = digitalRead(tiltSensorPin);
}
return current;
}
WORKING
Welcome to the Arduino Based Project which consists of 1602 LCD and Tilt switch module. The basic working of Tilt switch module is being described here. A Tilt Sensor switchis an electronic device that detects the orientation of an object and gives its output High or Low accordingly. Basically, it has a mercury ball inside it which moves and makes the circuit. So tilt sensor can turn on or off the circuit based on the orientation.
CASE 1: NOT TILTED
Initially, when it is in NOT tilted position as shown in the image below, it gives LOW output because of the liquid mercury complete the circuit by connecting the two electrodes. When the output is LOW on-board LED remain ON.

CASE 2: TILTED
When it is inclined in a particular direction or angle, the liquid mercury breaks the contact between the metal electrodes and the circuit gets open. Hence, we get HIGH output in this condition and the on board LED turns off.